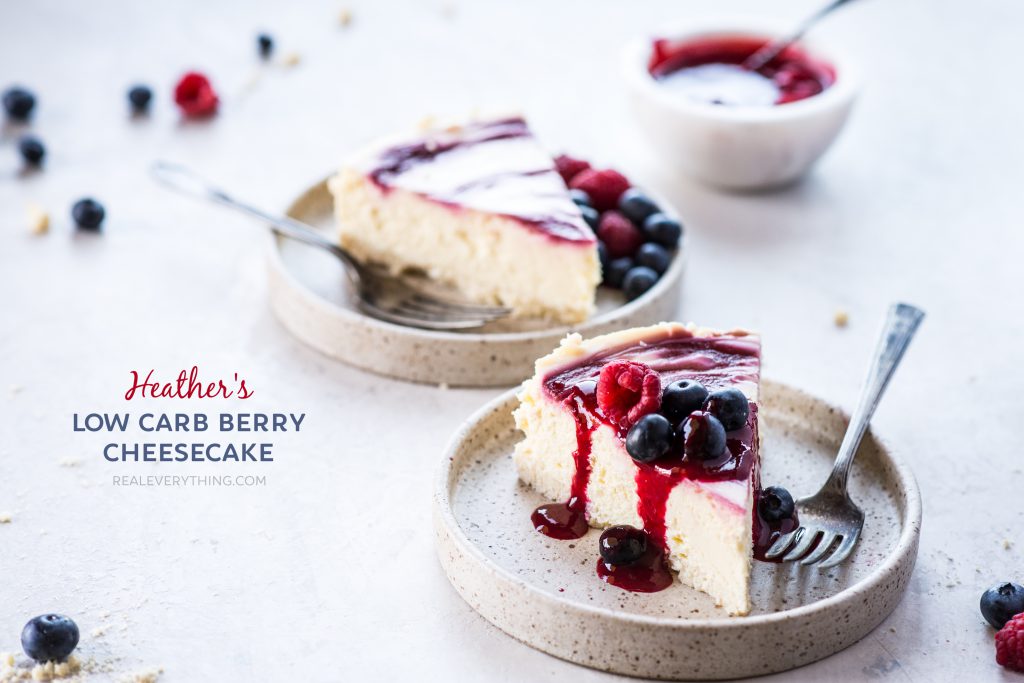
Thanks to our friend Heather for sharing her keto-friendly low carb cheesecake, that can be made paleo-friendly with dairy-free options we included below. She’s been toying with starting a blog, so let’s all encourage her in the comments!
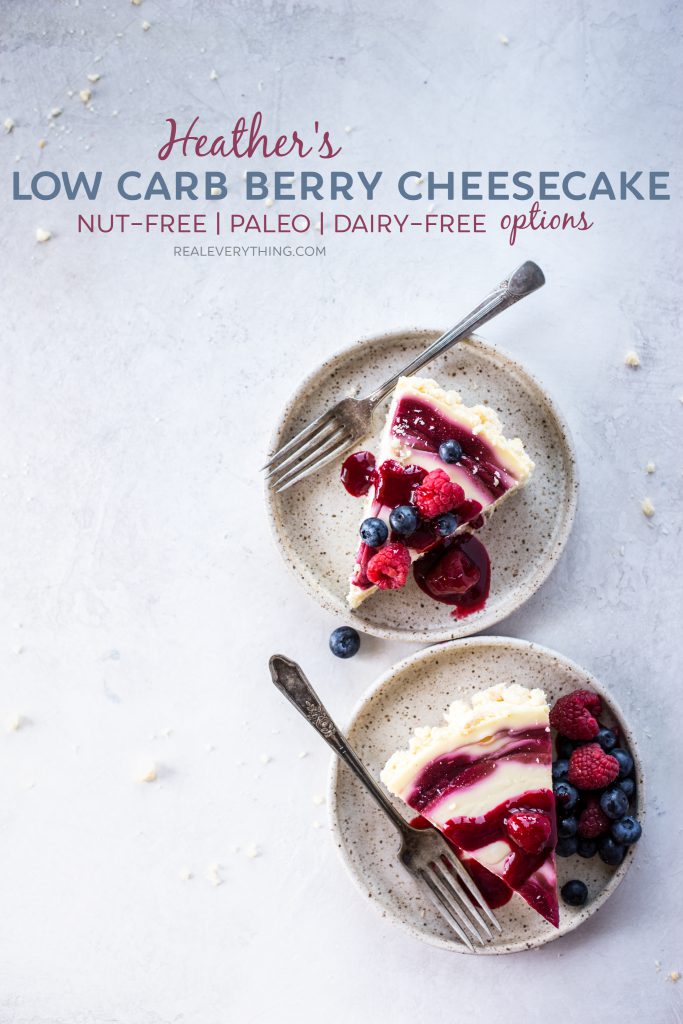
When I shared a pic of this cheesecake at our neighborhood girls’ game night, you all went wild asking for a recipe. I said it wasn’t mine, but then begged my friend Heather – who’d brought it – to share. After some testing with alternative options, we are thrilled to share this classic New York style cheesecake made healthier with you!
I’ll be honest, we’ve made dairy-free cheesecakes with soaked cashews before. And we end up feeling worse than if we’d just done the real thing in moderation with high quality dairy. That’s what learning your body’s cues is all about – doing what makes you feel your best! So, with that in mind the suggested method for this cheesecake is more traditional with ingredients; but, if your body feels better with dairy-free alternatives, we’ve got you covered!
Note that this is not a zero carb food. There are berries and a tiny bit of cassava in this, after all. But if you are keto just leave off the fruit topping and with the use of monk fruit sweetener, it’s low enough carb that it was a good choice for our mixed group of paleo-ish, keto, and traditional eaters.
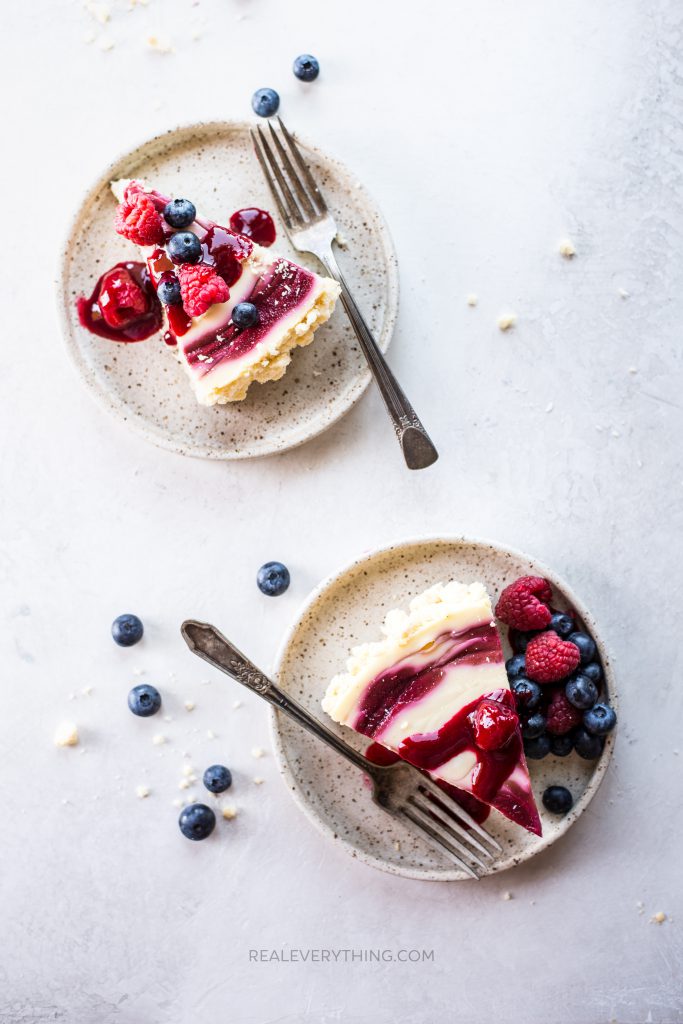
The taste is creamy and delicious, like any cheesecake should be. You’re sure to love it.
You will notice a new ingredient mentioned in this recipe: monk fruit sweetener. This is a sugar substitute made from erythritol, a sugar alcohol and monk fruit extract, a tropical fruit. Is it a strictly whole food? No. But we feel okay with this because it is mainly derived from an actual plant and erythritol doesn’t make us feel yucky the way some low-carb sugars do. Turns out, it’s pretty much the safest sugar alternative out there (please don’t use anything with aspartame!), extensively studied with only minor digestive upset as a side effect found in some people. If that’s you, try something different! You’ll need to be mindful of what works for you, and you certainly can swap for unrefined cane sugar 1:1.
You’ll notice that the berry sauce is from an older recipe of ours, from the Raspberry Coolie. It’s a very versatile sauce you can use anytime you want to add sauce and this cheesecake is absolutely one of them! We make a large batch like this and then it saves in the fridge for a long time. Try it on ice cream or waffles or anything you wish!
Ingredients
- 3- 10 oz packages frozen raspberries or strawberries, thawed
- 2 Tbsp Otto's Cassava Flour
- 4 Tbsp water
- 3/4 C monk fruit sweetener or unrefined granulated sugar
- 1 1/2 Tbsp lemon juice
- 1 C desiccated unsweetened coconut - not flakes, they will be too big!
- 1 C coconut flour
- 2 egg whites (save the yolks for the cheesecake)
- 1 Tbsp melted coconut oil
- 1 4oz stick of melted unsalted butter
- 1 tspn salt
- Optional Spring Form Pan
- 4 Ounce (1 stick) unsalted butter, softened, plus additional, for brushing the pan
- 1C + 1 Tbsp monk fruit sweetener (or unrefined granulated sugar)
- 20 oz Cream Cheese, room temp - we prefer organic grass-fed and personally use Organic Valley and Wallaby
- 1 1/4 C Sour Cream (grass-fed organic preferred)
- 1 Tbsp Vanilla Extract
- 2 Eggs
- 3 Egg Yolks (save the whites for the crust)
- 1/3 C Heavy Cream, we use Trickling Springs Grass-fed Organic
Instructions
- To make the sauce, drain raspberries, reserving 1 1/2 cups juice.
- Combine the cassava flour and water in a small bowl, stirring well.
- Combine the reserved raspberry juice, cassava mixture, 3/4 cup sugar, and lemon juice in a heavy sauce pan. Cook over medium heat until mixture thickens, stirring often - this should take about five minutes and will thicken as soon as it starts to bubble. Remove from heat and add raspberries, stirring well.
- Allow to cool in fridge while you prepare the cheesecake.
- Preheat oven to 300 degrees F. Brush some of the melted butter around a 9 by 3-inch round cake pan or spring form pan. IMPORTANT: adhere parchment to the bottom and the sides. If using a spring form pan ensure that there is a seal to prevent leakage.
- Mix the crust ingredients together well, press 3/4 of the mixture into the bottom of the pan evenly, not too hard or it will not remove or cut as easily. Lay out the remaining 1/4 on a sheet pan (you're just toasting this for the edges later) and bake both for 10 minutes. Cool. Reserve additional crumb mixture for sides.
- Lower oven temperature to 250 degrees F and put a baking dish with 1/2" water wide enough to put the cheesecake pan into a water bath.
- While both the sauce and crust cool, in a mixer with a paddle attachment, beat sour cream and butter for 10 seconds. Add the cream cheese and monk fruit and mix on low until incorporated, then turn up to medium until mostly smooth, scraping the bowl intermittently as necessary. Don't over beat, you still need to add the remaining wet ingredients.
- In a separate container, combine vanilla, eggs, yolks, and heavy cream. With the mixer on medium, slowly pour the liquid mixture in. When half is incorporated, scrape the sides. Continue adding the mixture until the rest of the ingredients are fully incorporated and smooth. You may need to use a spatula to smooth out any clumps without over-beating the mixture. Once completely combined, pour into the cooled crust.
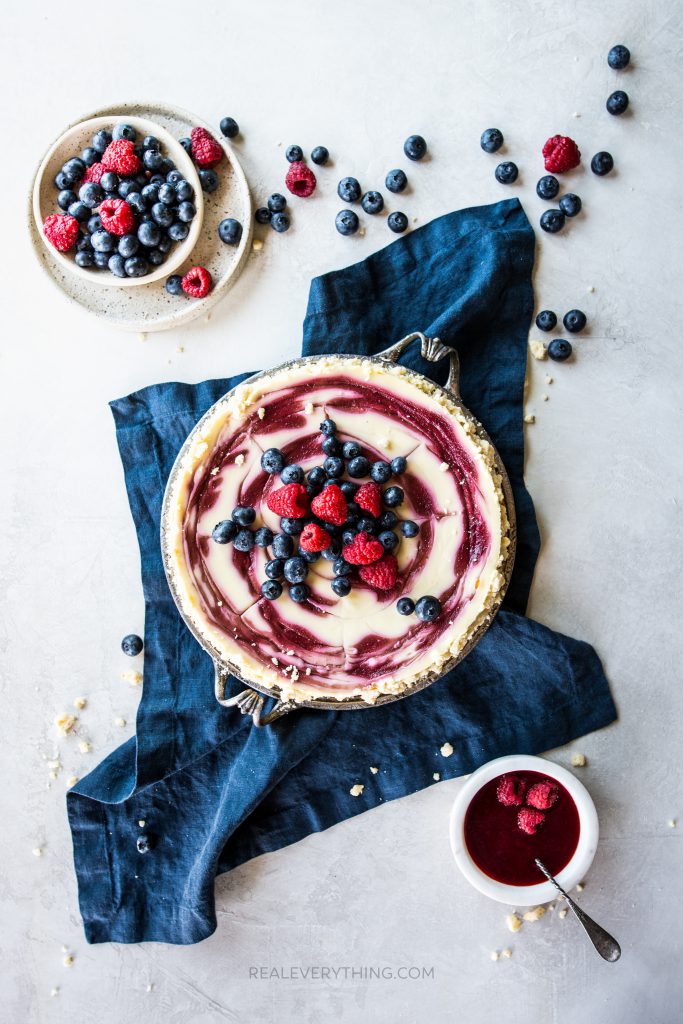
- Take 1/2 C of cooled berry sauce, strained, and swirl onto the cake. You can make intricate webbed designs or just a pretty swirl - it will taste the same, so be as artistic (or as rustic) as you'd like.
- Carefully put cheesecake into the preheated water bath, in the oven for 1 hour. At 1 hour, turn the oven off and open the door for one minute - this is too cool off the oven the perfect amount - don't walk away and set a timer, stay with your cheesecake baby! Then, close the door for one more hour.
- Remove the cheesecake from the water bath (after 2 full hours in the oven) and place in the refrigerator for 6 hours to completely cool before serving. Any less and the center won't be solid.
- When ready to serve, place the entire cake pan into a hot water bath for about 15 seconds. This allows the fat solids to loosen just enough to release the cheesecake easily. Unmold onto a cake round or serving dish. Take the remaining coconut mixture and press into the sides of the cake.
- To help slice perfectly clean, place your knife into a hot water bath and wipe dry each time you make a pass through the cake.
- Serve with remaining raspberry sauce as optional addition for guests. Add fresh berries for a seasonal decoration.
Notes
Warning: this is a make ahead dish! Perfection takes time, don't rush it. It will be perfect if you make it a day or two ahead of the intended serving day, making it ideal for holidays and big events.
*Note: Strawberries or any fruit of your choosing can be subbed for this sauce.
NOTES FOR DAIRY FREE: sub heavy cream with full fat coconut cream (no additives!), and use dairy-free butter, sour cream and cream cheese. We recommend Miyokos brand or the recipe for dairy-free cream cheese on our blog and Predominantly Paleo's recipe for paleo butter and sour cream. Alternatively, if you moderately tolerate dairy, try green valley lactose-free cream cheese and sour cream.
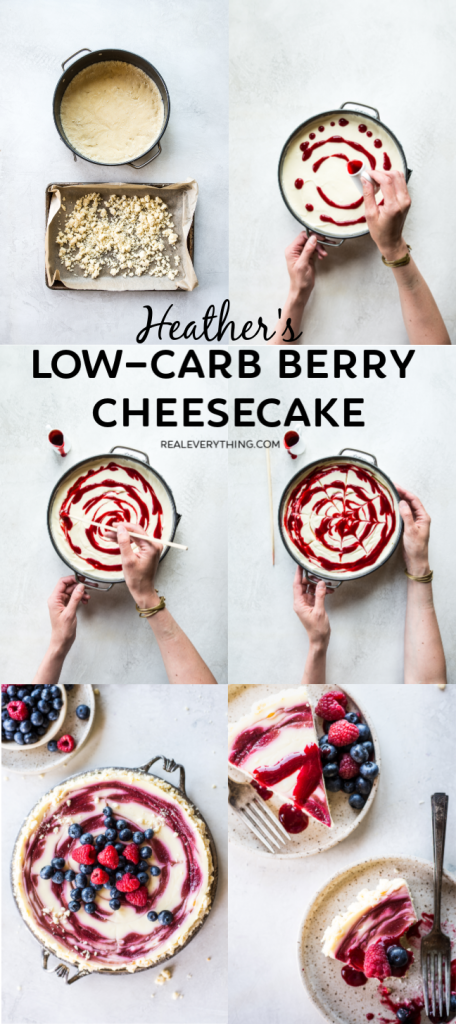
Visual Person? We got you!
When working the crust and swirl, here are the step-by-step photos of the way it is supposed to look. It’s a great one to pin for later!
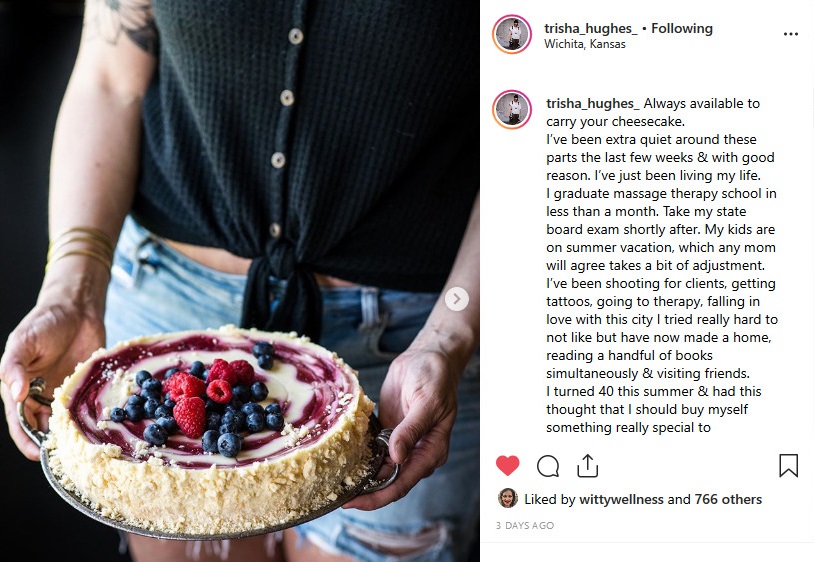
Thanks to our photographer, Trisha Hughes for the gorgeous shots! You can follow her on Instagram, where you’ll find teaser shots like this – love that you can see the full sides of the cake’s crumb crust here.
Want more info on our Real Life? Healthy recipes, parenting tips, and general lifestyle stuff goes out in our Real Everything newsletter, join here.
Never want to miss an educational post, sale, or deal on safer skincare? Join my Healthy Inside & Out e-mail list for more info on non-toxic living and safer skincare!