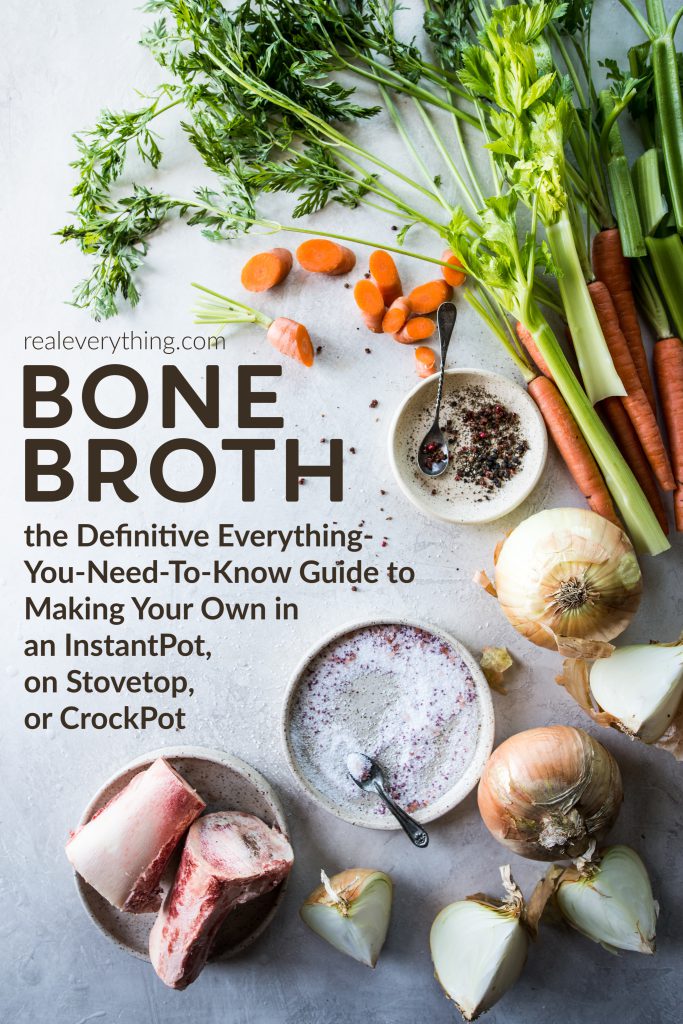
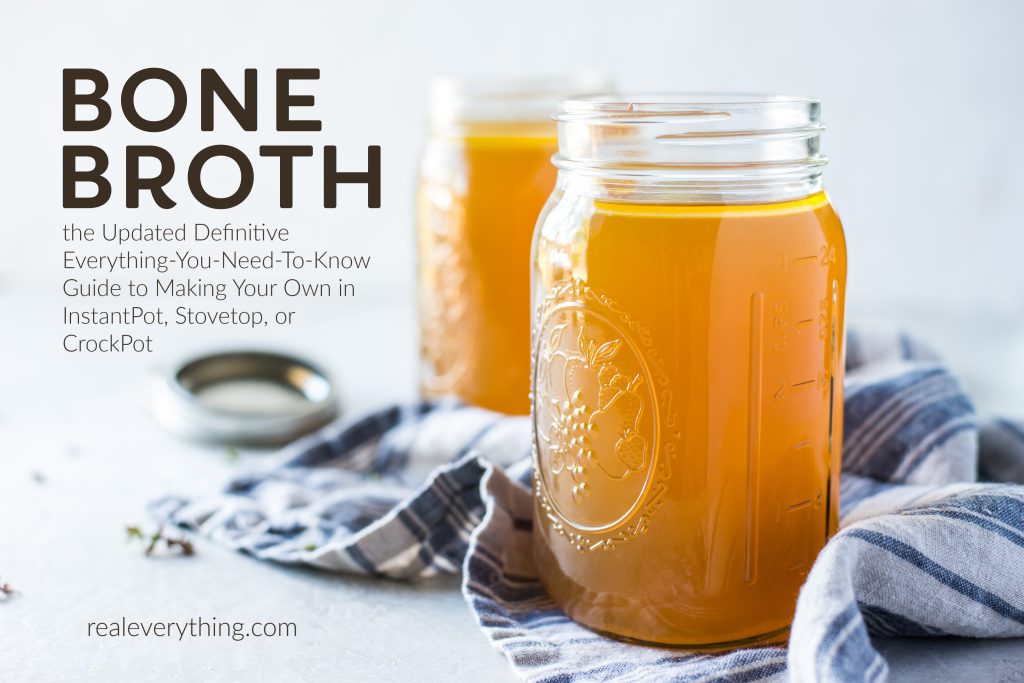
In 2014, yes FIVE years ago (we are dinosaurs for internet time), we wrote a Tutorial for Bone Broth. For years Stacy was dubbed “the broth lady” in our community, and we’ve long asserted our love and the healing power of collagen-rich homemade broth. And we still stand by the fact that IT’S NOT HARD TO MAKE. Plus, it’s super cheap when you re-use bones you already have. Since the world has unsurprisingly changed in 5 years, with the beloved InstantPot becoming our favorite kitchen appliance, it’s time for an update. We’ve got a better grasp on the simplicity of instructions, and the FAQ you really have. So here it is, the updated tutorial that is now THE Updated Definitive Everything-You-Need-To-Know Guide to Making Your Own in InstantPot, Stovetop, or CrockPot.
Benefits of Bone Broth
Of late the health benefits of broth have been touted far and wide, spearheaded by the Weston A. Price Foundation, usually in articles beginning with South American proverbs. Now while we firmly believe that broth is awesome and beneficial, I think they may be overstated a bit. Yes all those minerals are in there, like calcium, phosphorus, folate and magnesium, and perhaps, as is often touted, they are in “the most usable form,” but the amounts in a typical serving are not huge.
The health benefits we find most convincing come from the collagen that is contained in bones and joints. The collagen in the bones becomes gelatin in your broth. The main amino acids in gelatin are glycine and proline, both of which are incredibly important to your health. Among other uses, glycine is important in healing wounds, building joints and building muscle and proline helps to clear plaque from arteries. The Paleo Mom goes into more detail here.
Essentially, you need gelatin to be in your best health and the best way to get it is from bones and connective tissue. And that is the best reason to drink some broth!
And when it comes to what bones to use, this is one of those rare cases where source does not much matter to obtain the health benefits. Bones are only formed one way and there will not be much difference in the stock from a conventionally raised animal and a pasture raised one. If we get our favorite take out meal, Peruvian roasted chicken, you better believe we’ll be making stock from those flavorful roasted bones!
You can make broth or stock from any animal that has bones. While the most common varieties are beef and chicken (at least according to grocery store shelves), you’re welcome to make pork stock, lamb stock, fish stock, or, most prized of all in fancy kitchens, veal stock. And the vegetarians in your life are certainly making vegetable stock, though there will be no gelatin in a vegetable stock. Each type has its own best practices to making it that you should be aware of, which we will address later.
Using up the bones contributes to using the whole animal, from nose to tail, taking advantage of the health benefits of an unused part. Not to mention that a well-made broth will heighten the flavor of any dish that uses it. Broth is rich in glutamate, that compound that delivers the umami punch that tasty food needs.
Making Your Bone Broth
Making broth is very simple. On the stovetop, it’s as simple as:
- Roast (optional)
- Boil
- Simmer
- Flavor
- Store
But of course it there’s a lot of nuance in there.
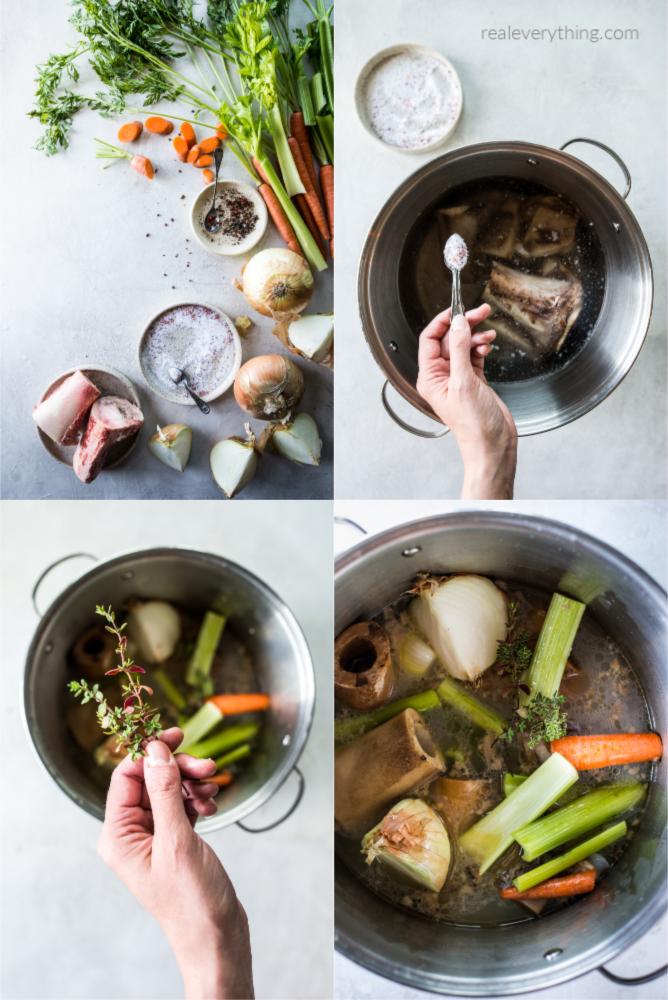
STEP 1, ROAST
The first question you have to ask yourself when making broth or stock is “What bones am I using and what’s been done to them previously?” Like I said, any bones will work, but different circumstances call for different steps. If your bones are previously roasted, throw them in the pot right away. If you have thicker bones like beef bones, lamb bones, or veal bones, you’ll want to roast them first to improve the flavor.
Place them on a roasting pan and roast them at 400 degrees for 30 minutes to brown them. Some will tell you to salt and pepper them and, sometimes, coat them in tomato paste. I consider that to be unnecessary. You will also get more of they beneficial nutrients if bones are raw, so if maximum healing and super gelatinous results are desired – skip this step. Once roasted, if roasting, place them in your stock pot.
STEP 2, BOIL
Add one tablespoon each of salt and whole black peppercorns to the pot. Do not add ground pepper, because you’ll want to strain out the pepper later. Pour in three tablespoons of apple cider vinegar. The acid helps to extract the mineral in the bones and break down the collagen. Cover your bones with water by about an inch. Some considerations on the amount of water include the fact that some liquid will evaporate; however, the more water you have at the end of cooking, the less concentrated your broth will be. In our home we love a concentrated broth, both for it’s dense nutrients as well as rich flavor. That means, we use just enough to cover the bones for cooking. You can always add more water when cooking if needed!
STEP 3, SIMMER
Place your pot on the stove at high heat and bring it to a boil uncovered. Cover and reduce the heat. Now we come to the subject of cooking times. The idea here is to cook it long enough to extract as many nutrients as possible without making it turn bitter. This is a different amount of time for each type of bone.
- For fish and seafood stock, only simmer for 20-30 minutes, and never over an hour. It turns bitter very quickly.
- For chicken stock, the bones are smaller and hollow. You’ll find that your bones will be cooked in 24-36 hours.
- For pork and lamb bones, you’ll have a finished stock in 24-48 hours.
- For beef bones, the thickest around, you’ll need to cook at least 48 hours and some will leave them on for up to 72.
*times based on stove top cooking, they will double for crockpot and shorten for InstantPot (see below)
How do you know if you’ve gotten everything out of your bones? If you can pick up the cooked bone and easily crush it in your hand like Gregor Clegane, it’s ready. Personally, I love doing this just for the satisfaction. If your bones are too tough to crumble in the palm of your hand then keep cooking until you can!
STEP 4, FLAVOR
Towards the end of cooking, with only an hour or two to go, add your aromatics. Traditionally in Western cuisine, this would be carrots, onion, and celery. I like to add garlic as well. Don’t bother peeling these, as you’ll just be straining them out. I just quarter the onion and break a few carrots and celery in half. Add herbs, if you wish, tied up in cheesecloth for easy removal. The French use a bouquet garni featuring bay leaves, parsley and thyme. Other cultures favor different flavors, of course. Our favorite flavors for broth come from those in Vietnamese pho, where the broth is enhanced with fish sauce, ginger, anise, and cloves (our recipe is in Beyond Bacon).
When done, strain your stock into a bowl through a colander, then pour your stock into your storage container of choice, using a funnel if you have one to avoid a big mess. We use quart size mason jars to store our broth. It freezes well!
Bone Broth Tips
There are many tips to making great broth and here are a few:
- When you boil bones, often times a scum will rise to the top, especially with pork and beef bones. It’s bitter and ugly, so you’ll want to skim it off when it forms. Our secret trick is to bring just the bones and water to a boil for ten minutes, then dump out the water and start the broth over. You’ll find that much less scum forms and you haven’t yet penetrated the bones to lose much if any of the nutrients.
- If having a clear broth is important to you, don’t bring your broth to a boil! Turn down the heat when it’s just simmering and your broth will be clearer at the end.
- Some recipes out there have you put in vegetables and then cook you stock for very long periods of time. If you do that, your stock will end up bitter. If you want nutrient-rich and flavorful aromatics in your stock, add them only for the last hour or two.
- After you are finished cooking your broth, refrigerate it. That will bring the fat to the surface which you can skim off and discard or use as a cooking fat later. It’s also better to bring the hot stock more gently to cool in the fridge rather than freezing right away.
- If you are reaching the end of the storage time for your stock, you can “reset the clock” on it by bringing it to a boil again. This will kill the bacteria that are growing in there and give you another 5 days or so of fridge life. You can repeat this process several times to prevent spoiling.
- If you want a stock that is super rich in gelatin, you want bones that have more collagen and cartilage. That means joints! Knuckles, feet, backs, necks and heads are ideal for this. In fact, you’ll often find packages containing chicken feet, backs, and head just for this purpose. It may be a tad disquieting, but that stuff is extremely nutritious and you’ll never be able to tell from the final product. Plus, you’re helping the earth and respecting the animal by using all the parts!
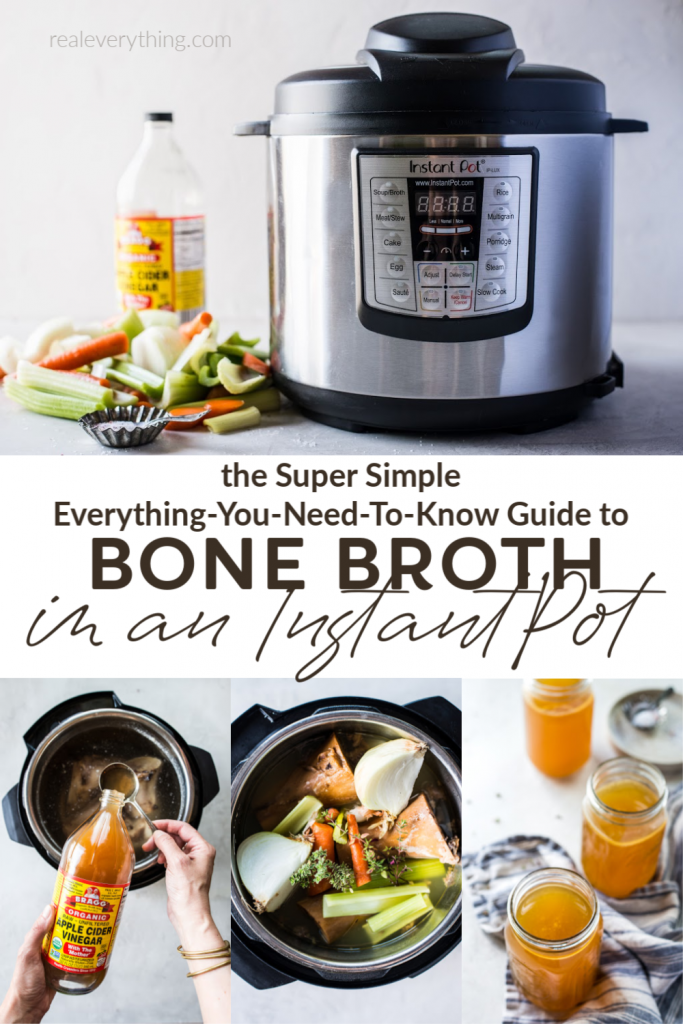
HOW TO MAKE BROTH IN AN INSTANT POT
Of course you can shorten those days-long cooking times by using an Instant Pot. I use the manual setting for making bone broth. Put your bones in, put your water in, put your peppercorns, salt and vinegar in, then seal and hit manual. DO NOT ADD YOUR VEGETABLES YET. See above about waiting until later so the broth won’t be bitter.
Increase the time on the manual setting all the way to the max of 90 minutes. For most bones you’ll need multiple cycles (generally fish is 1, chicken is 2 and pork or beef is 3-4) to have soft bones with all the nutrients extracted from the bones. Follow our general time settings until you get a feel for your preference on the types of bones you use, and then you’ll know how many cycles to complete before releasing the steam and straining it for use.
Nervous to use an InstantPot? Don’t be! We made a video about using one, which you’ll definitely find useful! While it’s not about broth, we show how simple it is.
And you can read our tutorial here as well.
JOIN OUR LISTS
If you want to hear more from us, we’d love if you’d join our newsletters.
Go here to join the Real Everything Newsletter with information about what we’re up to and what we’re posting.
Go here to join the Healthy Inside and Out Newsletter with everything we’re sharing about healthier living through safer skincare.